--
:
--
:
--
实战-GitLab13-7安装部署文档-泽阳-先收藏-待测试
最后更新于:
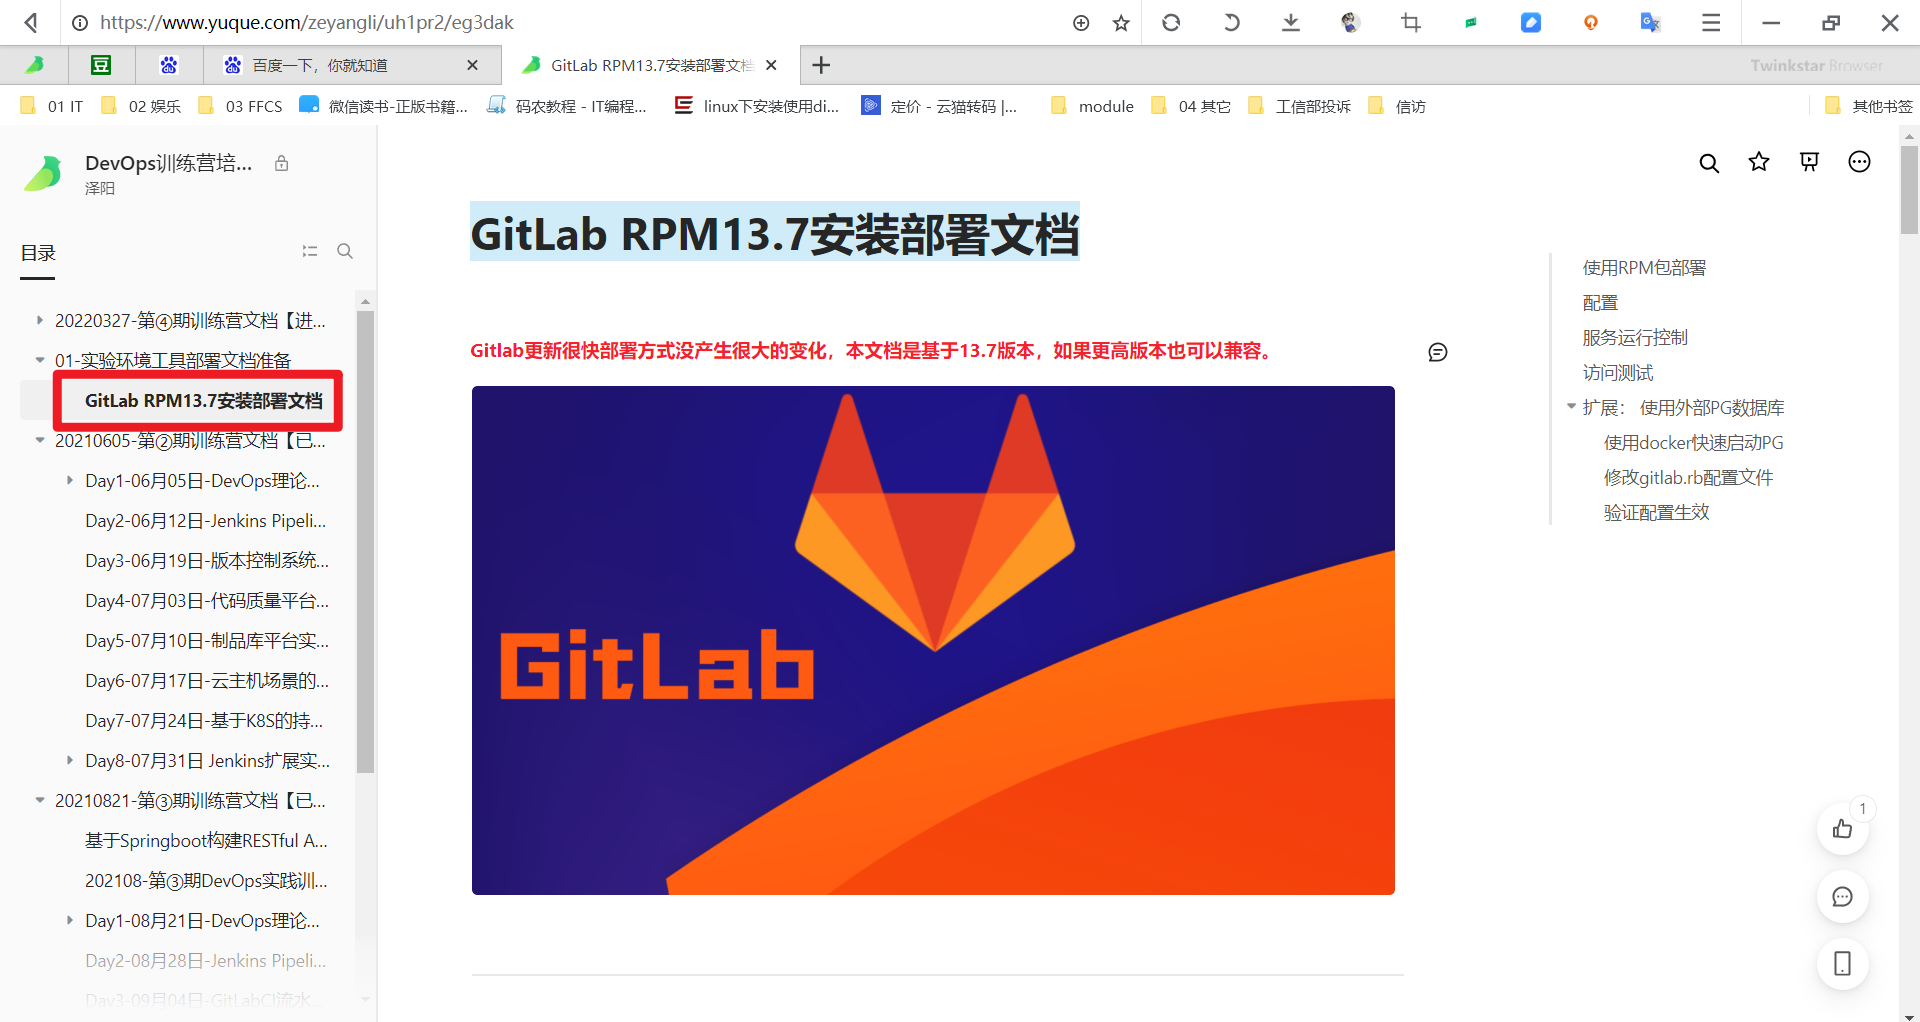
实战:GitLab RPM13.7安装部署文档(泽阳-先收藏-待测试)-2022.5.7
文章来源
老师文档
Gitlab更新很快部署方式没产生很大的变化,本文档是基于13.7版本,如果更高版本也可以兼容。

使用RPM包部署
这里使用的系统是CentOS8, 清华源:mirrors.tuna.tsinghua.edu.cn/gitlab-ce/
 1
 2## 下载软件包
 3wget https://mirrors.tuna.tsinghua.edu.cn/gitlab-ce/yum/el8/gitlab-ce-13.7.0-ce.0.el8.x86_64.rpm
 4
 5## 安装
 6rpm -ivh gitlab-ce-13.7.0-ce.0.el8.x86_64.rpm
 7
 8## 日志输出
 9warning: gitlab-ce-13.7.0-ce.0.el8.x86_64.rpm: Header V4 RSA/SHA256 Signature, key ID f27eab47: NOKEY
10Verifying...                          ################################# [100%]
11Preparing...                          ################################# [100%]
12Updating / installing...
13   1:gitlab-ce-13.7.0-ce.0.el8        ################################# [100%]
14It looks like GitLab has not been configured yet; skipping the upgrade script.
15
16       *.                  *.
17      ***                 ***
18     *****               *****
19    .******             *******
20    ********            ********
21   ,,,,,,,,,***********,,,,,,,,,
22  ,,,,,,,,,,,*********,,,,,,,,,,,
23  .,,,,,,,,,,,*******,,,,,,,,,,,,
24      ,,,,,,,,,*****,,,,,,,,,.
25         ,,,,,,,****,,,,,,
26            .,,,***,,,,
27                ,*,.
28
29
30
31     _______ __  __          __
32    / ____(_) /_/ /   ____ _/ /_
33   / / __/ / __/ /   / __ `/ __ \
34  / /_/ / / /_/ /___/ /_/ / /_/ /
35  \____/_/\__/_____/\__,_/_.___/
36
37
38Thank you for installing GitLab!
39GitLab was unable to detect a valid hostname for your instance.
40Please configure a URL for your GitLab instance by setting `external_url`
41configuration in /etc/gitlab/gitlab.rb file.
42Then, you can start your GitLab instance by running the following command:
43  sudo gitlab-ctl reconfigure
44
45For a comprehensive list of configuration options please see the Omnibus GitLab readme
46https://gitlab.com/gitlab-org/omnibus-gitlab/blob/master/README.md
47
48Help us improve the installation experience, let us know how we did with a 1 minute survey:
49https://gitlab.fra1.qualtrics.com/jfe/form/SV_6kVqZANThUQ1bZb?installation=omnibus&release=13-7
配置
安装完成后可以发现以下信息,需要修改gitlab.rb配置文件。
GitLab was unable to detect a valid hostname for your instance.
Please configure a URL for your GitLab instance by setting
external_urlconfiguration in /etc/gitlab/gitlab.rb file.
Then, you can start your GitLab instance by running the following command:
sudo gitlab-ctl reconfigure
编辑 /etc/gitlab/gitlab.rb 可以看到默认的域名配置。如果是学习使用则可以继续使用该域名,不用再做其他配置。
132 external_url 'http://gitlab.example.com'
如果是需要修改该域名,则需要这样做:
1## 修改gitlab.rb
2external_url 'http://gitlab.devops.com'
3## 重新配置
4gitlab-ctl reconfigure
服务运行控制
1## 启动服务
2gitlab-ctl start
3## 重启服务
4gitlab-ctl restart
5## 查看状态
6gitlab-ctl status
7## 停止
8gitlab-ctl stop
访问测试
由于使用的是gitlab.devops.com 这个域名,需要在dns或者本地hosts中添加该解析记录。
1vi /etc/hosts
2192.168.1.200 gitlab.devops.com
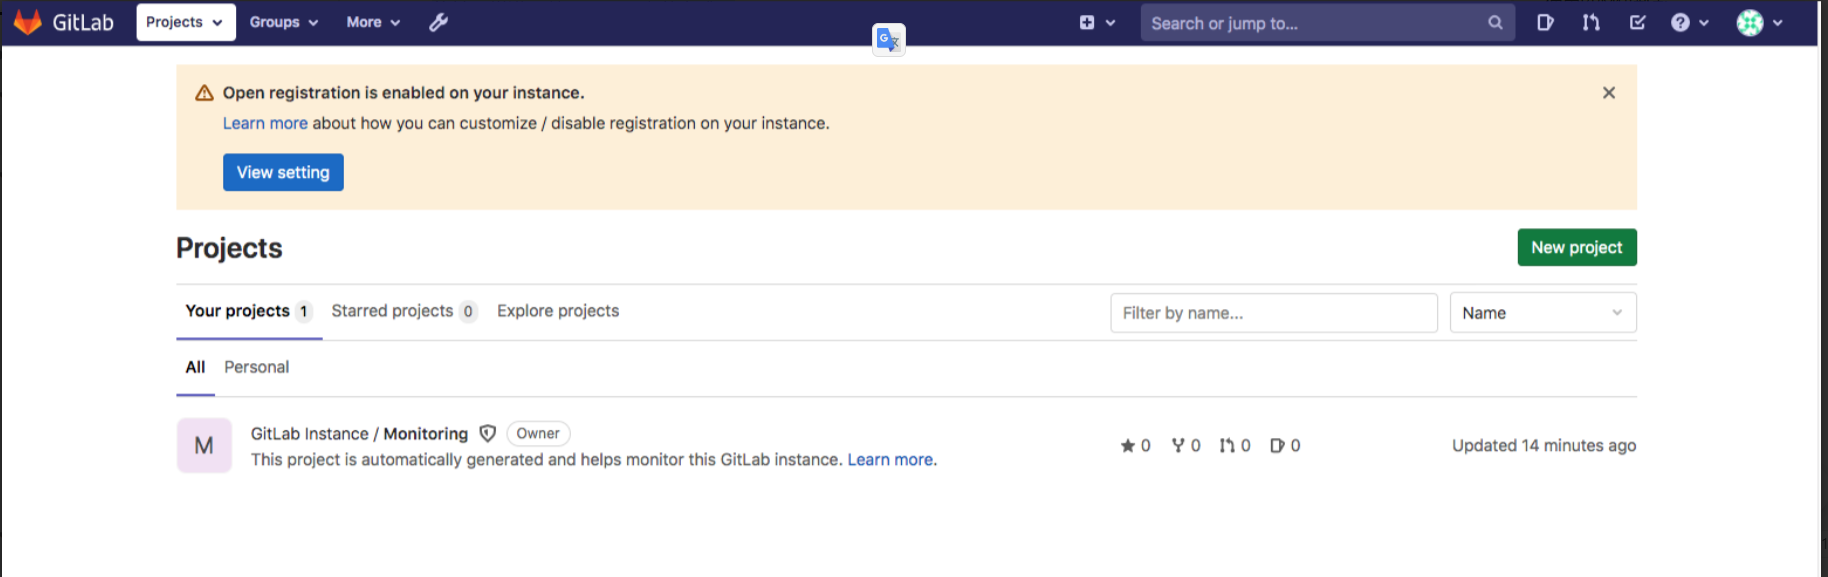
浏览器访问http://gitlab.devops.com/, 设置用户密码。 默认用户root。这里设置的密码是devops1234。
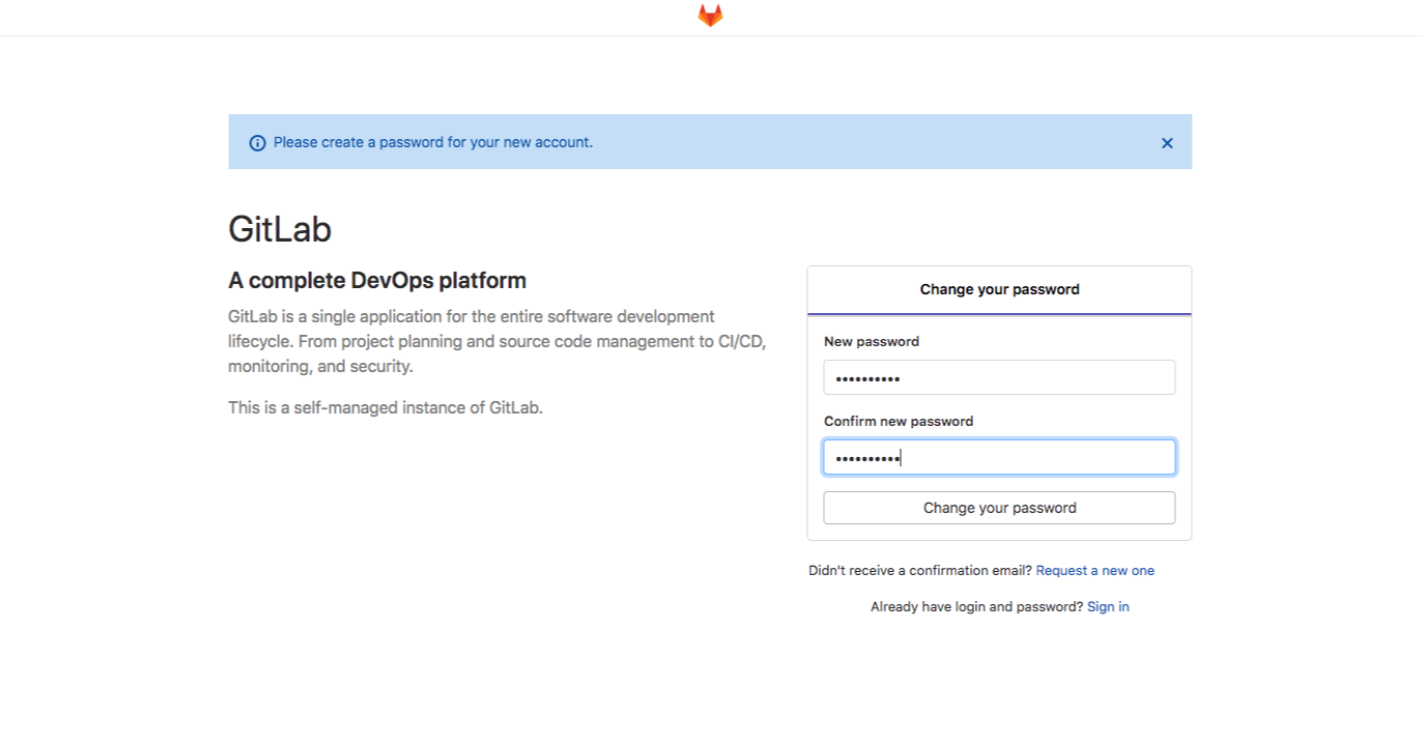
能够正常进入首页即可,安装完成。
扩展: 使用外部PG数据库
pass平台支持创建一些数据库,然后配置gitlab去连这个数据库就行,这样就保证了数据库的高可用性。
使用docker快速启动PG
You are using PostgreSQL 9.6.16, but PostgreSQL >= 11
is required for this version of GitLab.
 1mkdir /root/gitlab/pgdata
 2
 3docker run --name dockerPG11 \
 4-e POSTGRES_PASSWORD=postgres \
 5-v /root/gitlab/pgdata:/var/lib/postgresql/data \
 6-p 54322:5432 \
 7-d postgres:11.5
 8
 9## 创建数据库
10psql -U postgres -h localhost -p 54322
11psql (11.5 (Debian 11.5-3.pgdg90+1))
12Type "help" for help.
13postgres=# create role gitlab login encrypted password 'gitlab';
14CREATE ROLE
15postgres=# create database gitlabhq_production owner=gitlab ENCODING = 'UTF8';
16CREATE DATABASE
17postgres=# \c gitlabhq_production
18You are now connected to database "gitlabhq_production" as user "postgres".
19gitlabhq_production=# CREATE EXTENSION IF NOT EXISTS btree_gist;
20CREATE EXTENSION
21gitlabhq_production=# CREATE EXTENSION IF NOT EXISTS pg_trgm;
22CREATE EXTENSION
23postgres=# \q
使用postgres用户创建 EXTENSION, btree_gist, pg_trgm。 否则会遇到如下错误:
STDOUT: psql:/opt/gitlab/embedded/service/gitlab-rails/db/structure.sql:9: ERROR: permission denied to create extension “btree_gist”
HINT: Must be superuser to create this extension.
修改gitlab.rb配置文件
编辑/etc/gitlab/gitlab.rb
 1654 gitlab_rails['db_adapter'] = "postgresql"
 2655 gitlab_rails['db_encoding'] = "utf8"
 3656 # gitlab_rails['db_collation'] = nil
 4657 gitlab_rails['db_database'] = "gitlabhq_production"
 5658 gitlab_rails['db_username'] = "gitlab"
 6659 gitlab_rails['db_password'] = "gitlab"
 7660 gitlab_rails['db_host'] = "192.168.1.200"
 8661 gitlab_rails['db_port'] = 54322
 91025 postgresql['enable'] = false
10
11## 配置更新
12gitlab-ctl reconfigure
验证配置生效
 1cat /opt/gitlab/embedded/service/gitlab-rails/config/database.yml
 2
 3# This file is managed by gitlab-ctl. Manual changes will be
 4# erased! To change the contents below, edit /etc/gitlab/gitlab.rb
 5# and run `sudo gitlab-ctl reconfigure`.
 6
 7production:
 8  adapter: postgresql
 9  encoding: utf8
10  collation:
11  database: gitlabhq_production
12  username: "gitlab"
13  password: "gitlab"
14  host: "192.168.1.200"
15  port: 54322
关于我
我的博客主旨:
- 排版美观,语言精炼;
- 文档即手册,步骤明细,拒绝埋坑,提供源码;
- 本人实战文档都是亲测成功的,各位小伙伴在实际操作过程中如有什么疑问,可随时联系本人帮您解决问题,让我们一起进步!
🍀 微信二维码 x2675263825 (舍得), qq:2675263825。

🍀 微信公众号 《云原生架构师实战》

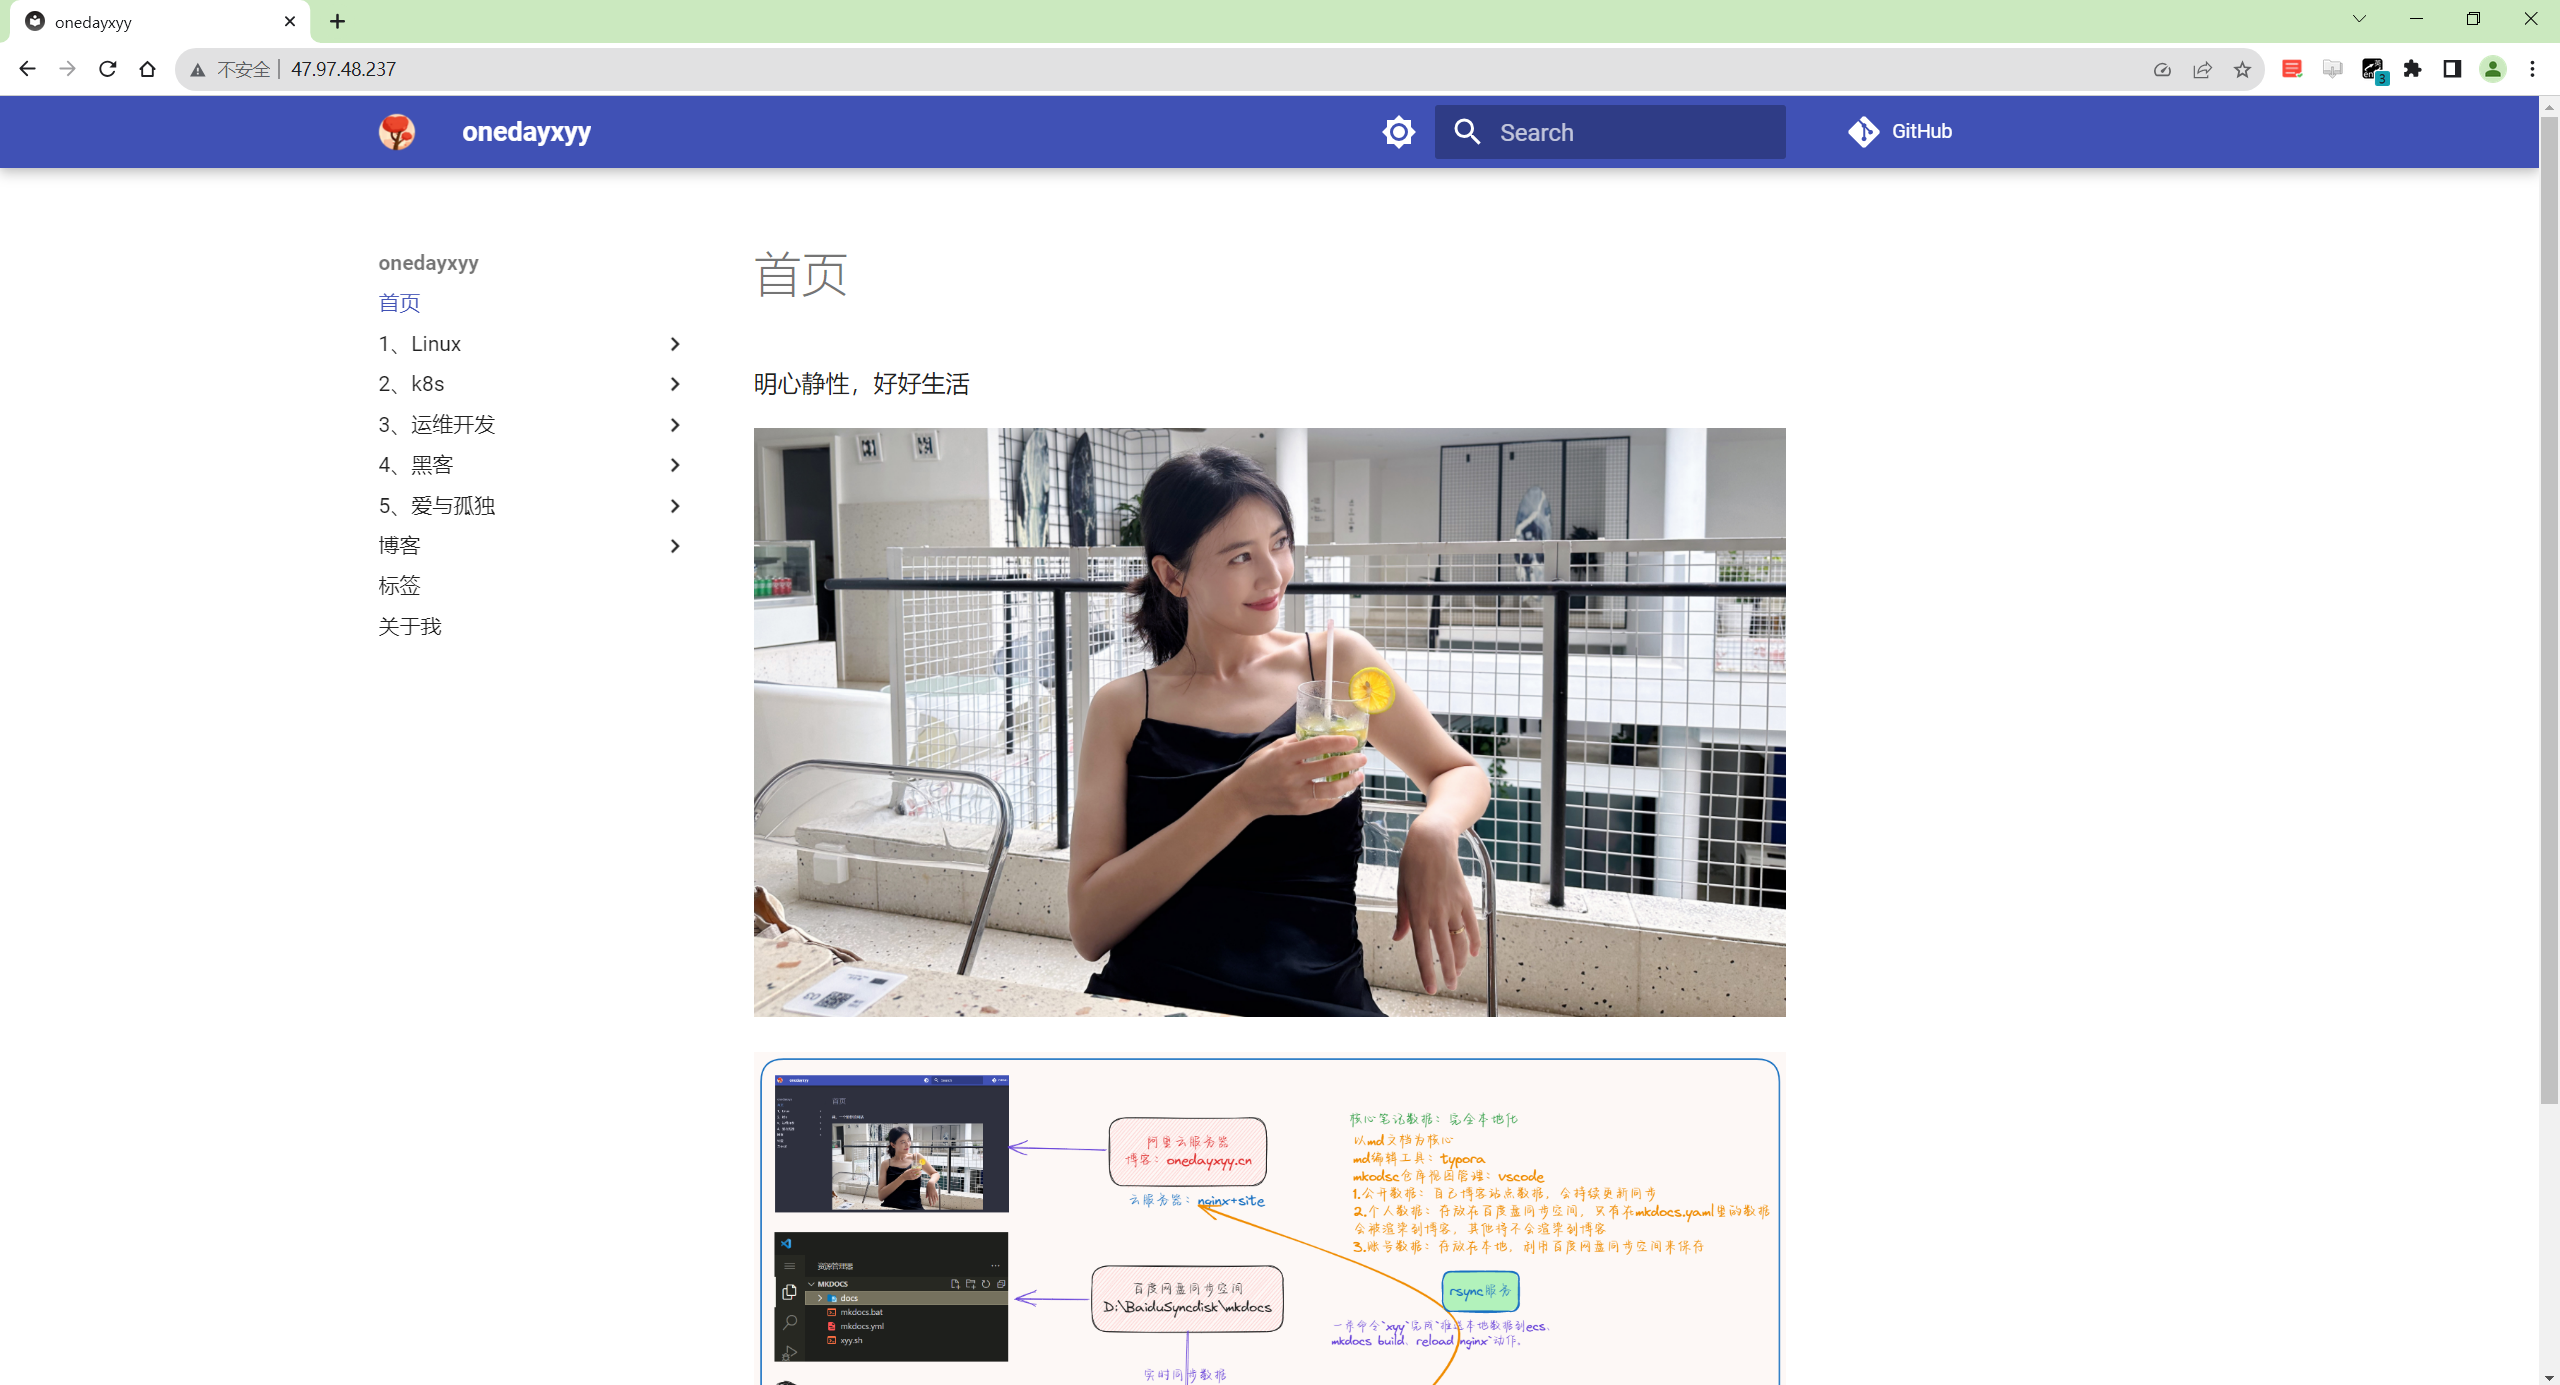
🍀 个人博客站点
http://47.97.48.237/ (即将上线域名:onedayxyy.cn)
🍀 语雀
https://www.yuque.com/xyy-onlyone

🍀 csdn https://blog.csdn.net/weixin_39246554?spm=1010.2135.3001.5421

🍀 知乎 https://www.zhihu.com/people/foryouone

最后
好了,关于本次就到这里了,感谢大家阅读,最后祝大家生活快乐,每天都过的有意义哦,我们下期见!
📡
推荐使用微信支付

推荐使用支付宝